Mastering Your Mower: A Step-by-Step Guide to Winterizing Your Lawn Equipment for Spring
As fall transitions into winter across Columbus, Ohio, most homeowners are focused on raking leaves and preparing their gardens for dormancy. However, there's one critical task that often gets overlooked until it's too late: properly winterizing your lawn equipment. Your lawn mower and other power tools have worked hard throughout the growing season, and how you prepare them for winter storage directly impacts their performance, longevity, and reliability when spring arrives. Neglecting this essential maintenance can lead to difficult starts, costly repairs, diminished cutting performance, and even complete equipment failure just when you need your tools most.
Think of winterization as an investment in your equipment's future and your lawn's health. A well-maintained mower starts easily on that first warm spring day, delivers clean cuts that promote grass health rather than disease, and provides years of reliable service that saves you the expense of premature replacement. At Grounded Columbus, we understand that comprehensive lawn care extends beyond the grass itself to include the tools that maintain it. Whether you're a dedicated DIY enthusiast or someone who occasionally tackles their own yard work, this step-by-step guide will walk you through the essential winterization process, ensuring your equipment is protected during the cold months and ready to perform flawlessly when the growing season returns.
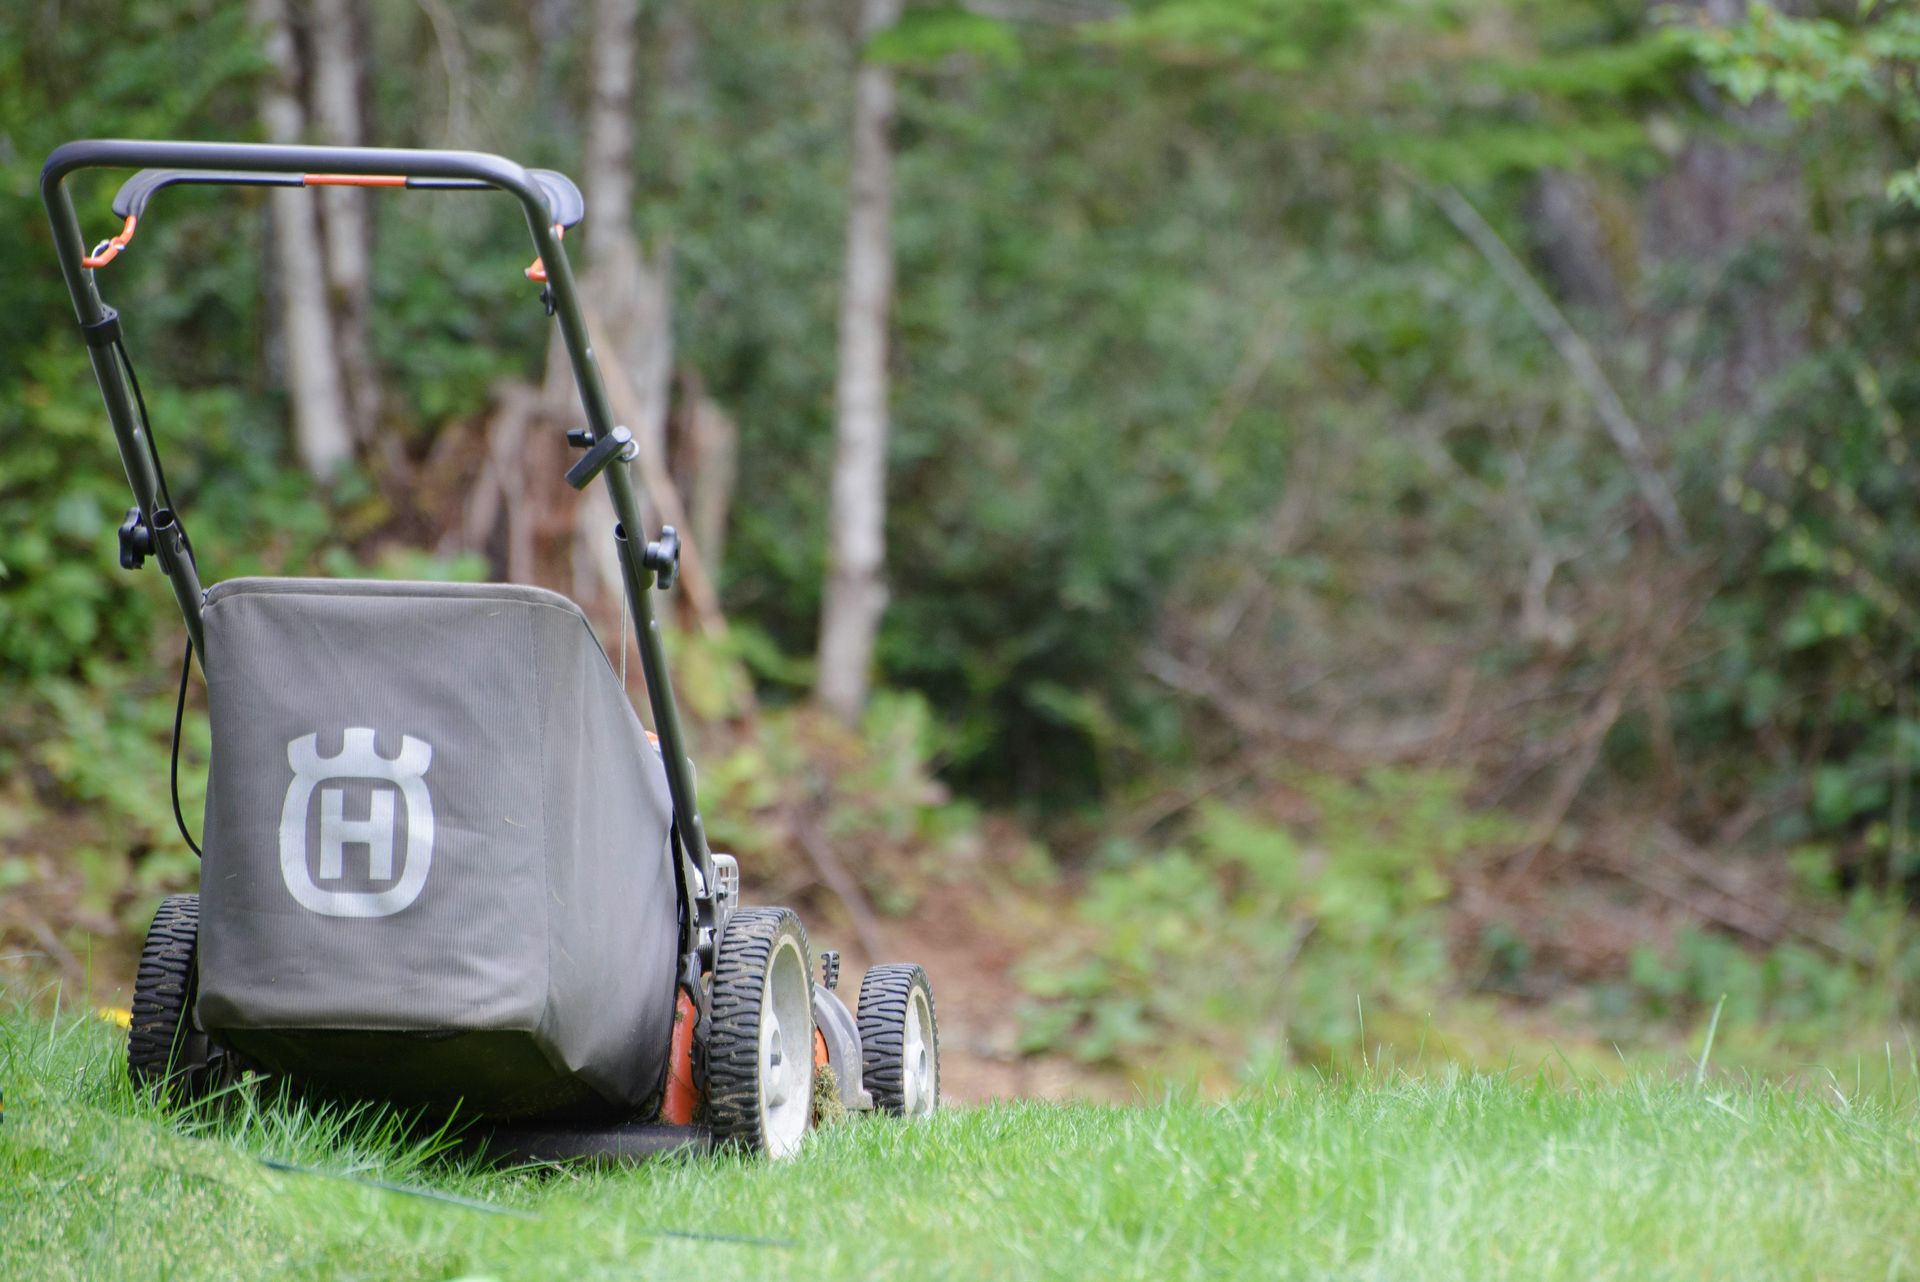
Step 1: Clean Your Mower Thoroughly
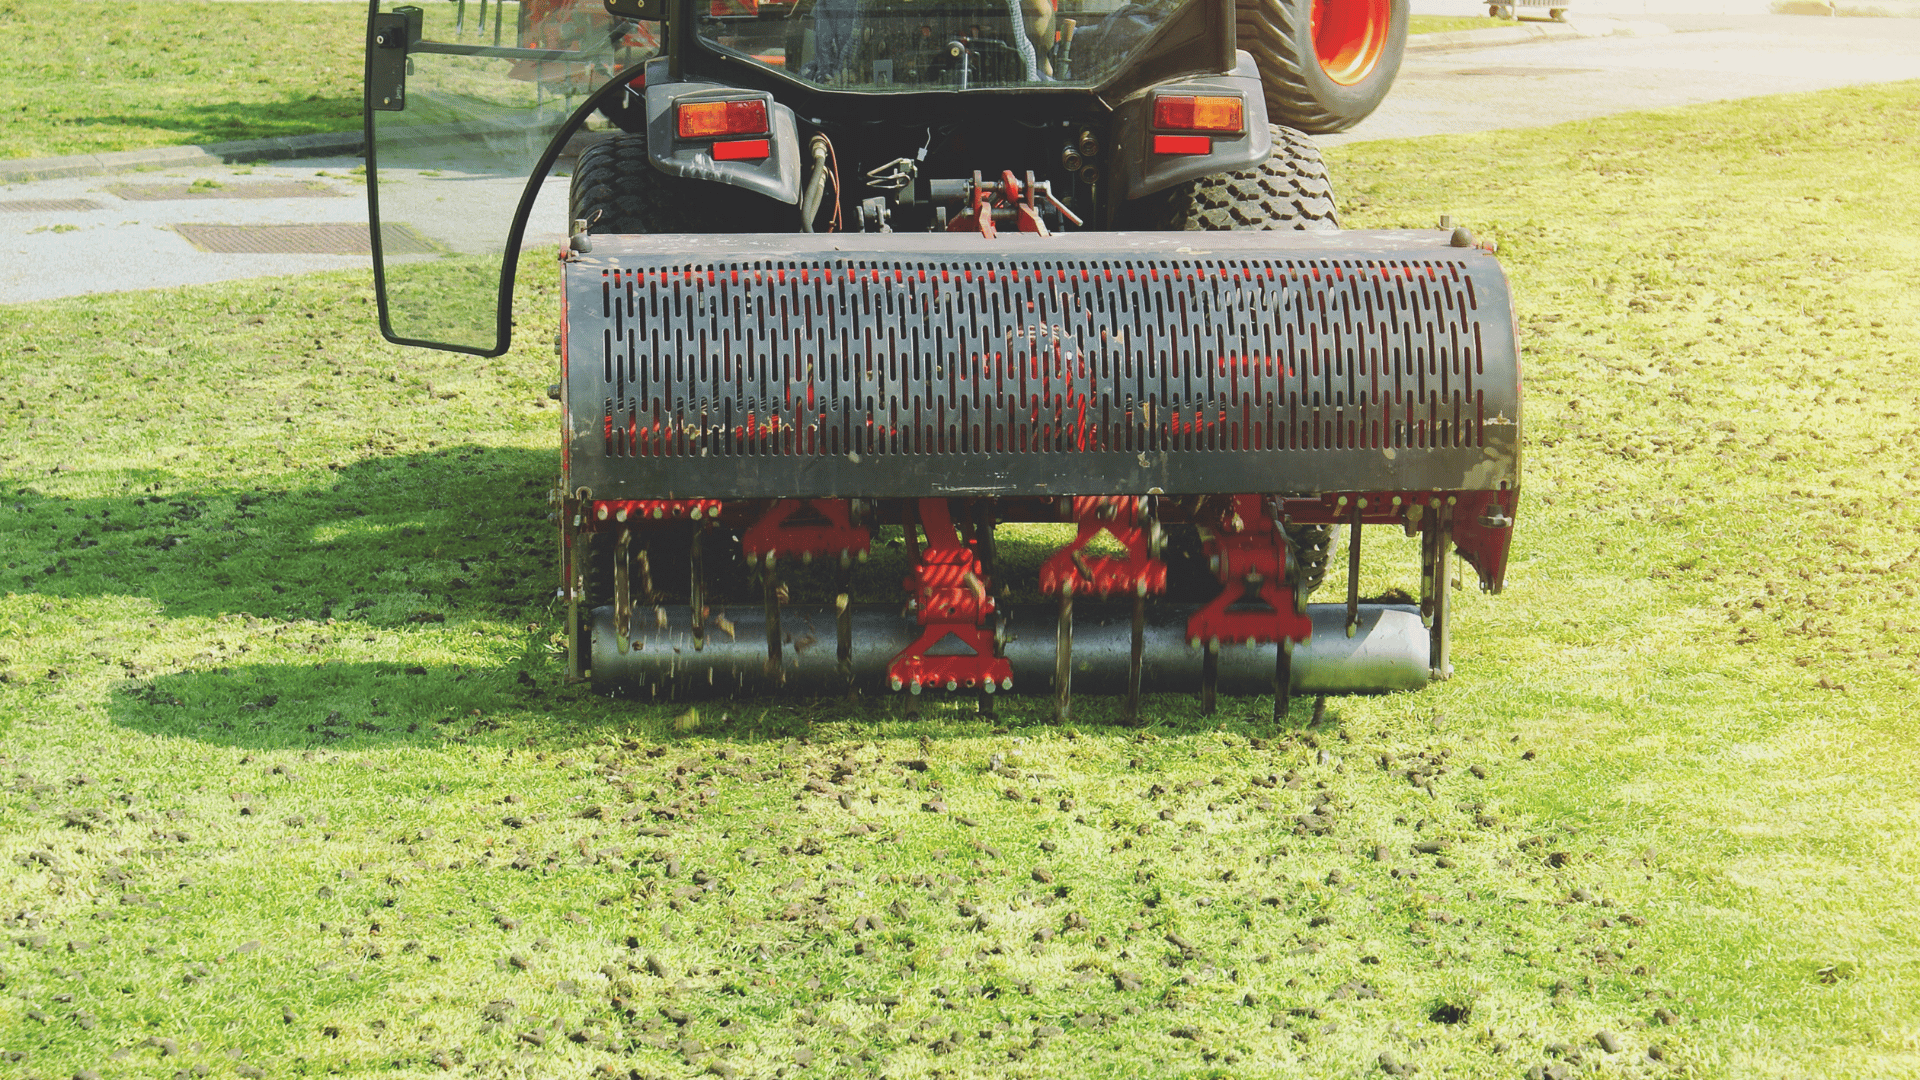
Before any other maintenance begins, your mower needs a comprehensive cleaning—and this is absolutely the most important foundation for proper winterization. Throughout the mowing season, grass clippings, dirt, moisture, and debris accumulate on every surface of your mower, but especially underneath the deck where the blade operates. This buildup isn't just unsightly; it creates an environment where rust can form during winter storage, traps moisture against metal surfaces, reduces cutting efficiency by affecting airflow, and can even harbor pests or mold. Starting your winterization with thorough cleaning sets the stage for all subsequent maintenance steps and significantly extends your equipment's lifespan.
Safety must come first: before you touch your mower, disconnect the spark plug wire to prevent any possibility of accidental starting. For electric mowers, remove the battery entirely. Once you've ensured the mower can't start, it's time to tackle that underside. Tip your mower on its side (always with the air filter and carburetor facing up to prevent oil contamination), and you'll likely discover a thick layer of dried grass clippings and compacted debris. Use a sturdy plastic scraper or putty knife to remove the bulk of this buildup—metal scrapers can work but risk damaging the deck's protective coating. A wire brush helps with stubborn, caked-on material, while an air compressor (if available) can blow out debris from hard-to-reach areas.
Don't stop at the deck—the entire exterior of your mower deserves attention. Wipe down all surfaces with a slightly damp cloth to remove dust, grass stains, and residue. Pay special attention to areas around the engine where debris can restrict airflow and cause overheating issues when you restart in spring. Once cleaned, it's wise to spray exposed metal surfaces with a light coat of WD-40 or similar moisture-displacing lubricant to create a protective barrier against rust during storage. This attention to detail—taking those extra few minutes to ensure everything is truly clean and protected—reflects the same quality-focused approach we bring to every lawn we service at Grounded Columbus. A clean mower isn't just about appearances; it's about respecting your equipment and setting yourself up for success.

Step 2: Fuel System Maintenance
The fuel system represents one of the most critical—and most commonly neglected—aspects of lawn equipment winterization. Old gasoline left sitting in your mower's tank and carburetor over winter creates a cascade of problems that can render your equipment difficult or impossible to start come spring. Modern gasoline, especially fuel containing ethanol, begins degrading within just 30 days. As it sits through winter, the volatile compounds evaporate, leaving behind gummy varnish deposits that clog fuel lines, jets, and carburetor passages. Ethanol also attracts moisture, which can lead to corrosion in your fuel system and phase separation where water settles at the bottom of your tank. These issues don't just make starting difficult—they often require expensive carburetor cleaning or replacement that could have been entirely avoided with proper winterization.
You have two primary options for protecting your fuel system, and the right choice depends on your storage situation and preferences. The first and generally recommended approach is using fuel stabilizer, which is truly your mower's best friend during winter storage. Fuel stabilizer is a chemical additive that prevents gasoline from breaking down and forming those problematic varnish deposits. Here's how to use it properly: Add the correct amount of stabilizer to your fuel tank according to the product instructions (usually one ounce treats two to three gallons of fuel). Don't just add stabilizer and close the cap—you need to run your mower for about five to ten minutes to circulate the treated fuel throughout the entire fuel system, ensuring it reaches the carburetor and all fuel lines. This step is crucial; stabilizer only protects fuel it actually contacts.
The alternative approach is draining your fuel tank completely, which some homeowners prefer for extended storage periods or if they're uncertain about fuel age. To drain properly, run your mower until it runs out of fuel entirely (this ensures you're not just emptying the tank but also the carburetor). Alternatively, use a siphon or turkey baster to remove fuel from the tank, then run the engine until it stops. The advantage of complete drainage is eliminating any possibility of fuel degradation; the downside is you'll need fresh fuel when spring arrives, and you must be absolutely certain you've removed all fuel from the system. Regardless of which method you choose, handle gasoline with appropriate caution—work in a well-ventilated area, away from any ignition sources, and dispose of old fuel properly at a hazardous waste facility, not by pouring it on the ground or down drains.
Step 3: Engine and Blade Care
The engine is the heart of your mower, and proper maintenance during winterization ensures it beats reliably for years to come. Start with an oil change, which is particularly important before winter storage because used oil contains combustion byproducts, acids, and contaminants that can corrode engine components during months of inactivity. The process is straightforward: run your mower for a few minutes to warm the oil (warm oil flows more easily and carries more contaminants with it), then locate your drain plug or tip the mower to drain oil into an appropriate container. Always dispose of used oil responsibly by taking it to an auto parts store or recycling center—never pour it down drains or onto soil. Once drained, refill with fresh oil of the type and quantity specified in your owner's manual. This simple step protects critical engine components and ensures proper lubrication when you fire up your mower next spring.
While you're focused on engine maintenance, inspect your spark plug—this small component plays an outsized role in engine performance. Remove the spark plug using a spark plug socket and examine it closely. A healthy spark plug should have a light brown or gray electrode with no heavy deposits or corrosion. If you see heavy carbon buildup, oil fouling, or a damaged electrode, replace it with the correct type for your engine (the part number is usually in your owner's manual or stamped on the old plug). Even if your spark plug looks acceptable, many experts recommend replacing it annually as preventive maintenance—they're inexpensive, and a fresh plug ensures optimal starting and running performance. While the plug is out, this is an excellent time to check your air filter as well. Remove the air filter cover and inspect the element; if it's paper, replace it if it appears dirty or damaged (they're not meant to be cleaned). Foam filters can often be cleaned with soap and water, dried thoroughly, and re-oiled lightly before reinstalling.
Now let's address what many consider the most important component for lawn health: your mower blade. A sharp blade doesn't just make mowing easier—it's fundamental to maintaining a healthy, attractive lawn. Sharp blades make clean cuts that allow grass to heal quickly and resist disease, while dull blades tear and shred grass, leaving ragged brown edges that make your lawn vulnerable to pests and disease while looking generally unhealthy. Winter is the perfect time to sharpen or replace your blade because you have time to do the job properly without the pressure of needing your mower tomorrow. To remove the blade safely, first disconnect the spark plug wire (remember, safety first), then tip the mower and use a wrench or socket to remove the blade bolt, noting the blade's orientation so you can reinstall it correctly. Examine the blade carefully—if it's severely damaged, bent, or worn thin, replacement is safer than sharpening. If it's simply dull, you can sharpen it yourself using a metal file or bench grinder, maintaining the original cutting angle (usually about 45 degrees) and removing equal amounts of material from both ends to maintain balance.
A properly balanced blade is crucial—an unbalanced blade causes vibration that damages your mower's engine and spindle bearings. After sharpening, check balance by hanging the blade on a nail through its center hole; it should hang level. If one side dips, remove a bit more material from the heavy side. When reinstalling, make sure the cutting edges face the direction of rotation (typically toward the ground when viewed from above), and tighten the bolt securely. This level of attention to detail—taking the time to do things right rather than rushing through—exemplifies the approach we take at Grounded Columbus with every lawn we service. If it means spending a couple extra minutes to ensure your blade is properly sharpened and balanced, that's what creates the difference between an okay lawn and a truly exceptional one.
Step 4: Battery and Storage Considerations
For those with electric-start mowers, battery maintenance is essential for reliable spring starting. Batteries naturally self-discharge during storage, and cold temperatures slow the chemical reactions that produce electrical current, which is why a battery left in your mower all winter often won't have enough power to start the engine come spring. The best practice is to remove the battery entirely from your mower before winter storage. Clean the battery terminals with a wire brush to remove any corrosion, and store the battery in a cool (but not freezing), dry location like a basement or utility room. If you have access to a battery maintainer or trickle charger, this is ideal—these devices keep the battery at optimal charge without overcharging, ensuring it's ready to deliver full power when needed. At minimum, check the battery charge monthly during storage and recharge if it drops below 75 percent capacity.
Where you store your mower matters almost as much as how you prepare it for storage. The ideal storage environment is dry, sheltered, and protected from temperature extremes. A garage or shed provides excellent protection; even an outdoor storage shed is far better than leaving equipment exposed to the elements. Moisture is your equipment's enemy during winter—it promotes rust on metal components, can freeze and crack plastic parts, and creates conditions for mold and corrosion. If possible, elevate your mower slightly off the ground using wood blocks or a pallet to prevent moisture wicking up from a concrete floor. Consider covering your mower with a breathable tarp or equipment cover to protect from dust while allowing air circulation—avoid plastic sheeting that traps moisture. Before covering, ensure everything is completely dry from your cleaning earlier.
While you're focused on winterization, don't forget about your other lawn care equipment and tools. Hand tools like rakes, shovels, and pruning shears benefit from a thorough cleaning to remove soil and debris, sharpening if applicable (pruning shears, hedge trimmers, and edging tools all perform better sharp), and a light coating of oil on metal surfaces to prevent rust. Garden hoses should be drained completely, coiled properly, and stored where they won't freeze and crack. String trimmers and other power equipment need similar attention as your mower: clean thoroughly, stabilize fuel or drain it, and store in a dry location. This comprehensive approach to equipment care—treating every tool as an important investment worthy of proper maintenance—reflects the same holistic philosophy we bring to lawn care at Grounded Columbus, where we understand that excellence emerges from attention to every detail, no matter how small.
Conclusion: Ready for a Thriving Spring Lawn
Properly winterizing your lawn equipment isn't just about the mechanics—it's about embracing a mindset of stewardship and proactive care that extends to every aspect of your property. When you invest the time to clean your mower thoroughly, protect its fuel system, service its engine, sharpen its blade, and store it properly, you're not simply checking boxes on a maintenance list. You're ensuring that when that first warm spring day arrives and the grass begins growing again, you'll be ready with equipment that starts reliably, cuts cleanly, and performs at its peak. The cost savings alone—avoiding repair bills, extending equipment life, and maintaining lawn health that reduces the need for corrective treatments—make proper winterization well worth the few hours it requires. Beyond the financial benefits, there's real satisfaction in knowing your tools are properly cared for and ready to help you maintain the lawn you take pride in.
This comprehensive approach to equipment maintenance mirrors the philosophy we live by at Grounded Columbus: we treat every lawn like it's our own, and that means never cutting corners or prioritizing speed over quality. Whether it's taking those extra minutes to ensure a property looks exactly right, understanding the specific needs of Columbus-area lawns through different seasons, or educating homeowners about best practices that promote long-term lawn health, we're committed to excellence in every detail. Just as proper mower maintenance is foundational to a healthy lawn, our year-round professional services provide the consistency, expertise, and attention to detail that transform ordinary lawns into exceptional outdoor spaces.
As you complete your equipment winterization this season, remember that maintaining a truly beautiful, healthy lawn requires more than just well-maintained tools—it demands consistent care, specialized knowledge of local growing conditions, and the time commitment that busy homeowners often struggle to provide. If you've found yourself wondering whether DIY lawn care is the right fit for your lifestyle, or if you're simply looking for professional guidance on any aspect of lawn and landscape management, the team at Grounded Columbus is here to help. Visit our website to explore our comprehensive lawn care services, learn more about our approach to quality and customer partnership, or schedule a consultation to discuss how we can help you achieve the lawn you envision. Because whether you're maintaining your own equipment or partnering with professionals who bring commercial-grade expertise to residential properties, the goal remains the same: a lawn that makes you proud every time you look out your window.